Description
Looking for the tool to assist your Mercedes Sprinter Van Installation of a Nations Alternator?
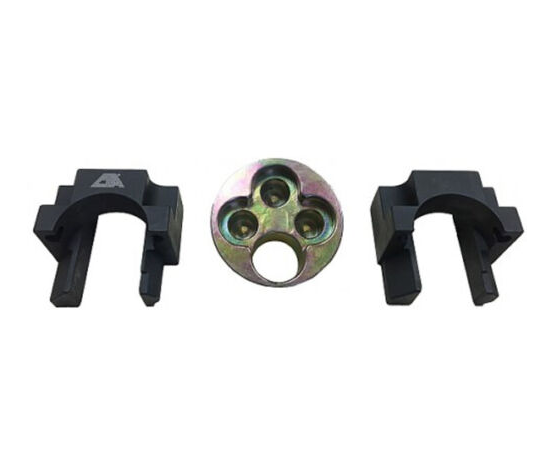
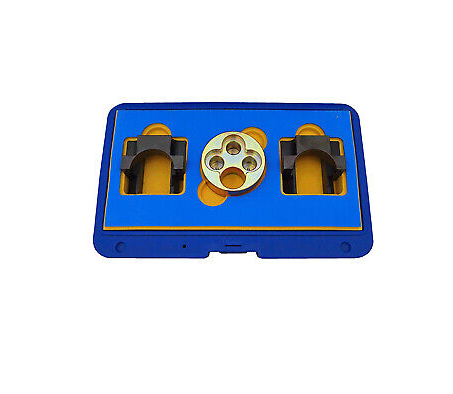
Includes set of camshaft holders plus crankshaft pulley install/removal/turning tool.
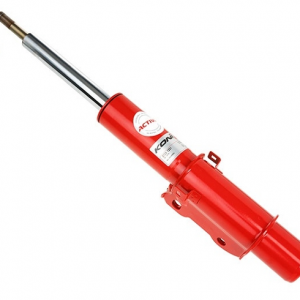
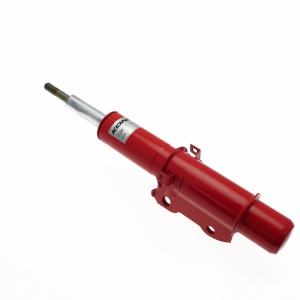
This is the Tool you would need to install a Nations Alternator onto your 2007-2018 Mercedes Sprinter Van.
If you need a tool for other vehicle to install Nations Alternators contact us. We can Help
Installation Guide for High Output Nations Mercedes Sprinter Alternators!
Congratulations on your purchase of the finest High-Output alternator available at any price!
This universal installation guide covers general installation procedures that apply to all of our alternators.
Should you require any assistance for your specific application, contact us directly at 503-321-5o0o Proper
installation of your new alternator is imperative to ensure that it works properly and delivers what we promise,
as well as offering you the reliability that Nations high-output alternators are famous for!
STEP 1: Remove the battery negative ( – ) cable
STEP 2: Verify the charge state of the battery (or batteries)
It is imperative that the battery (or batteries) is fully charged before any load is applied to your new Nations
Alternator. Using a Digital Multi Meter, verify that the standing voltage of the battery (or
batteries) is 12.6 – 13.0 volts. Anything lower will require that the battery (or batteries) is charged first.
If your battery (or batteries) requires charging, this is a good idea to do this while you are performing
the actual installation. Please refer to the manufacturer of your battery if in doubt how to correctly
charge it. If you do not have a Digital Multi Meter, simply put your battery (or batteries) on the charger before
proceeding until they are charged.
STEP 3: Remove the belt from the OEM alternator
Serpentine Belts – Release tension on the belt by disengaging the tensioner pulley. Remove the belt from the
alternator pulley and lower it out of the way
V-Belts – Note the tension on the alternator belt before removing it. After the installation, the belt tension
should be the same to prohibit belt slippage. Loosen the bolts that mount the alternator to the brackets so that
you can swivel the alternator closer to the motor and release the tension on the belt. Remove the belt from the
alternator pulley and lower it out of the way.
Note: You may have to refer to your vehicles’ owners or service manual for specifics on how to do this.
Regardless of the belt type, this is an excellent time to inspect it. If the belt shows signs of excessive wear,
cracking, has chunks of it missing, or has cords showing, this is a good time to replace it.
STEP 4: Remove the OEM alternator
Depending on the make, model, and year of your vehicle, the connections from the alternator to the vehicle will
vary.
You should note that the charge lead will typically be a 10 AWG* or larger wire and will run from the alternator
to the battery positive (+) OR from the alternator output to a power distribution point, which in turn is typically
connected to the battery positive (+) before removing the alternator.